I've had the past month off of school and planned on getting as much work done on the trailer as possible during that time. Of course, that month happened to be the rainiest month in California in years. Between the holidays and the rainy weather, I managed to squeeze in a few good work days and finally finished the framing! Even though we're not moving at the pace I expected, it feels like we're finally making some progress over here.

Framing completed! Please excuse the giant blue tarp. It's been raining like crazy here lately and we've rigged up quite an elaborate tent contraption that isn't very easy to remove for pictures
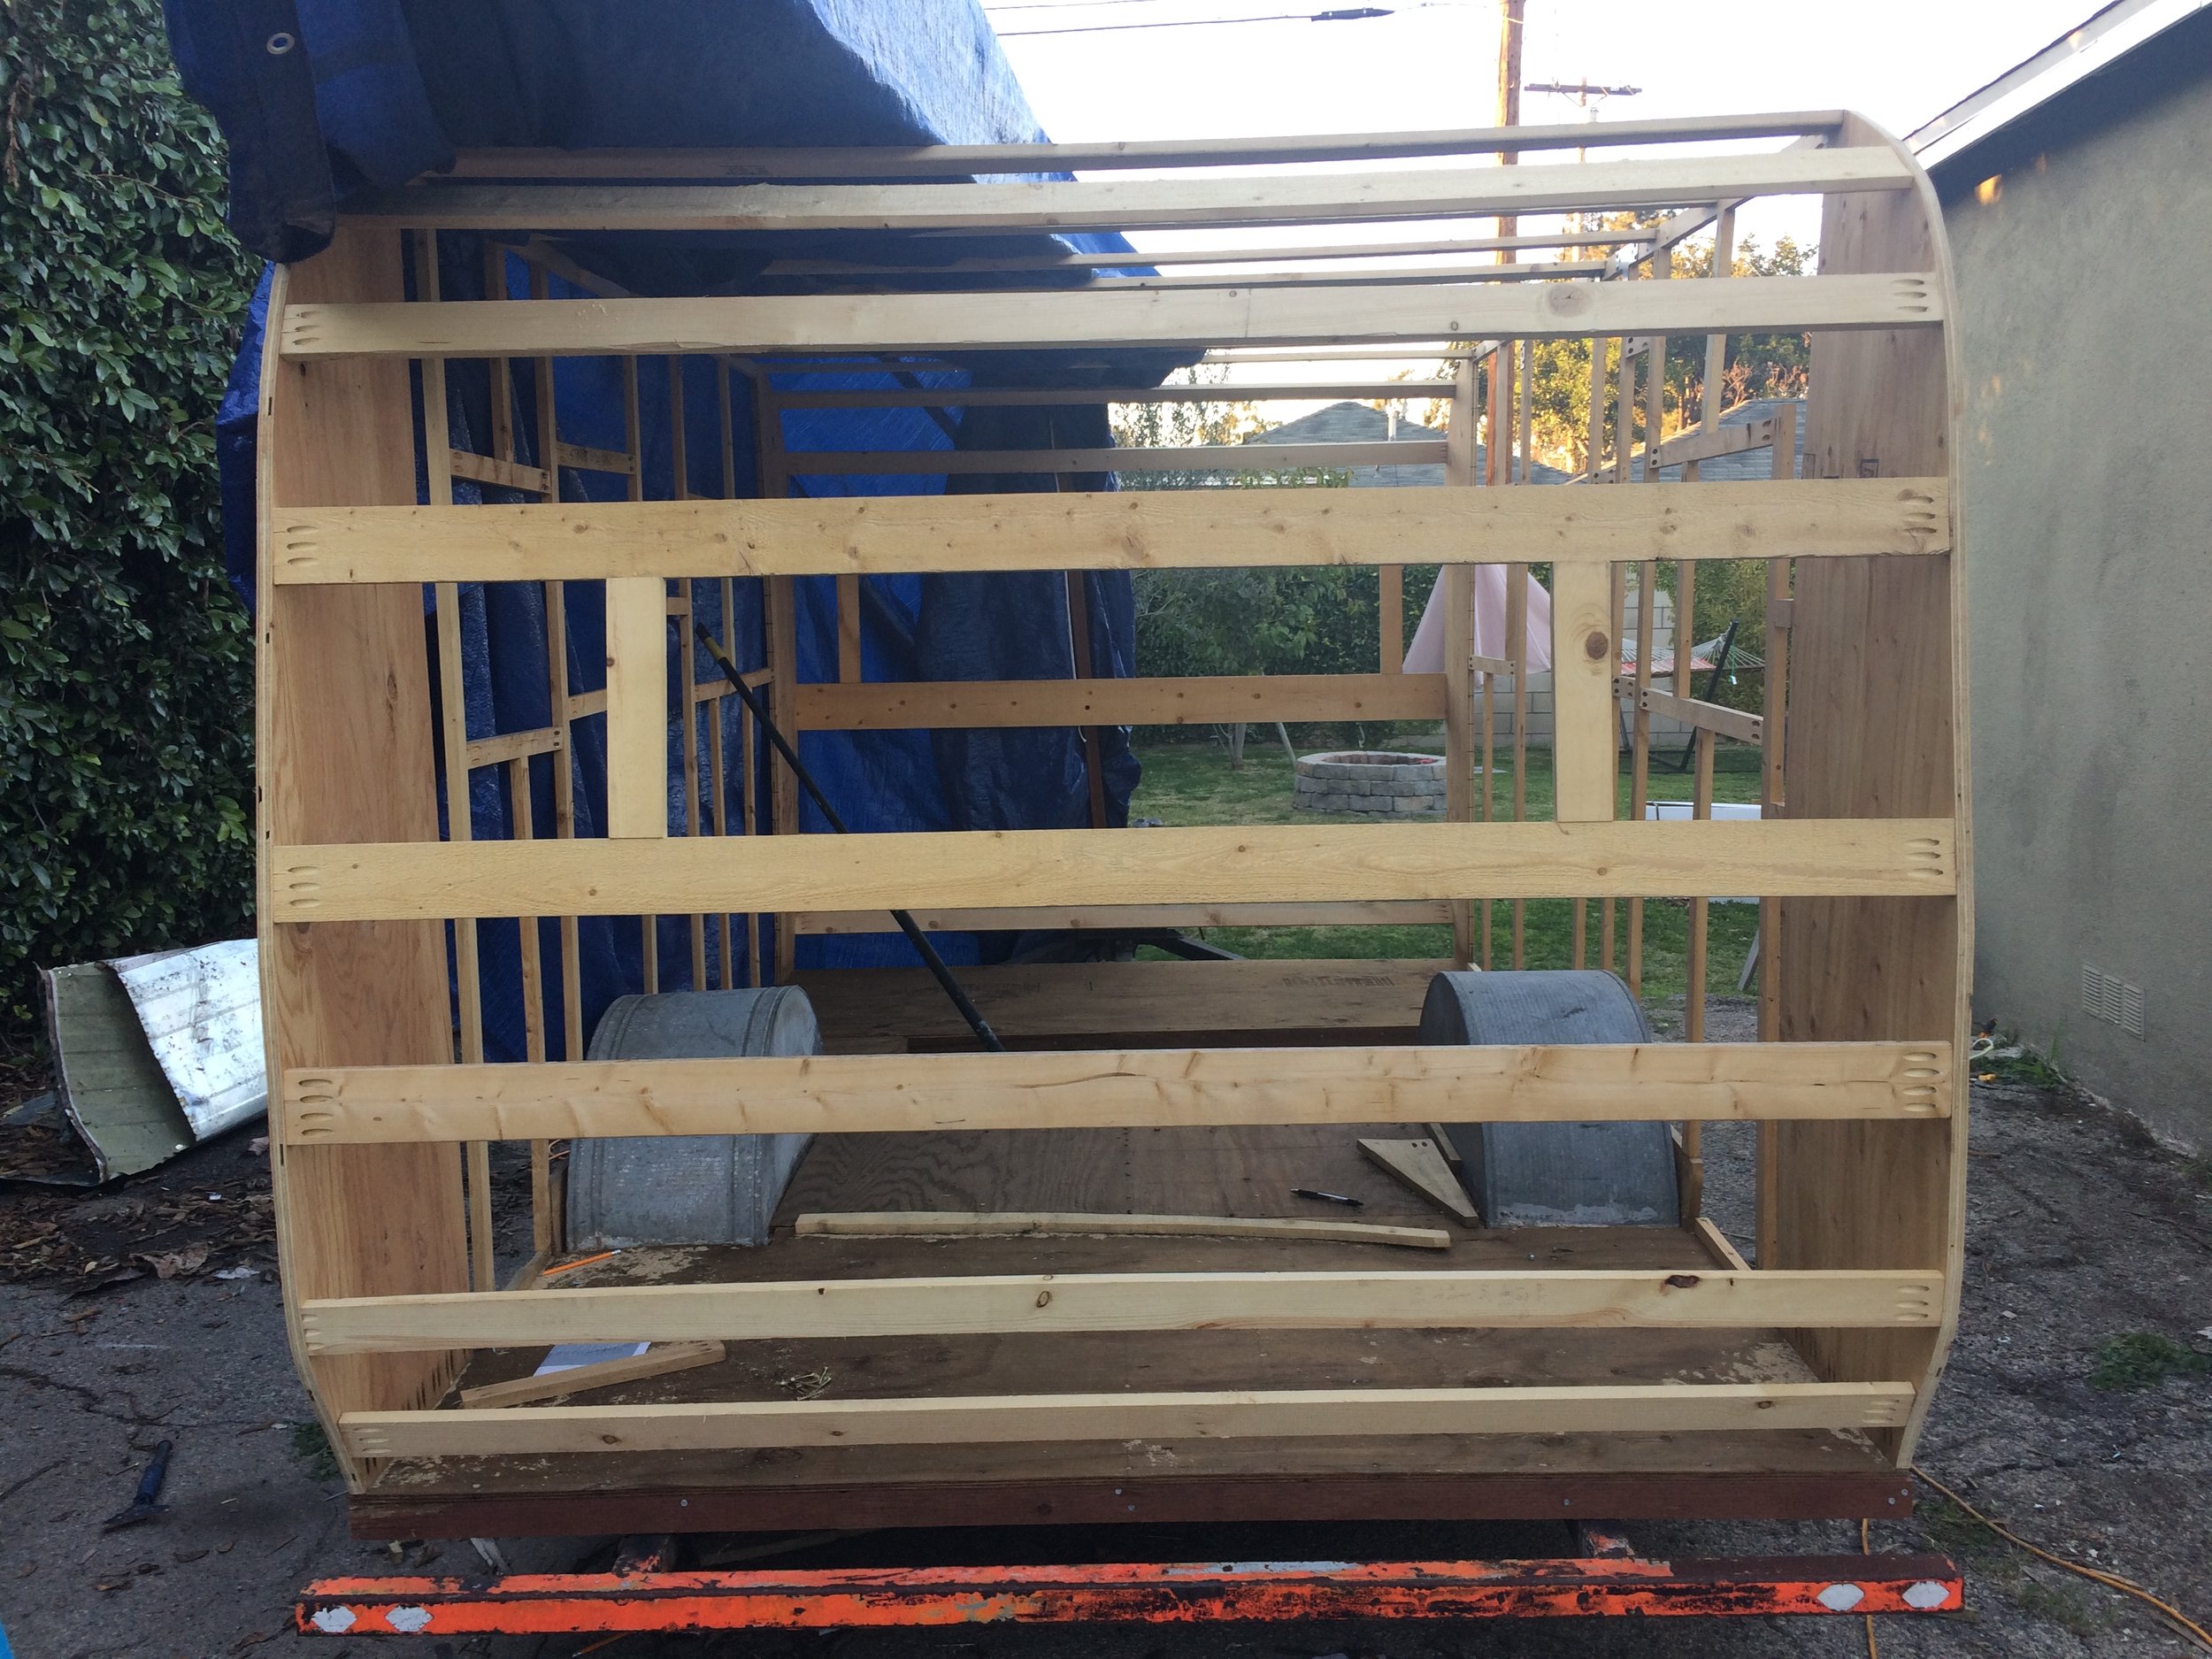
Trailer booty
Where to begin... we've had so many unexpected problems with the framing (although at this point I shouldn't be surprised anymore). We had previously taken all the old frame parts and traced them to use as a pattern for the new trailer. However, the old trailer had a piece of curved plywood that ran along the top, making the trailer appear bean-shaped that we forgot to save or get measurements of. To recreate this, we would have to either steam plywood or cut that same shape using a jigsaw. Since I've never steamed plywood before, I tried my hand at cutting it with the jigsaw. This proved to be incredibly difficult since half of the frame was already up on the subflooring. I tried making a model out of cardboard first and then cutting it out of wood, I tried attaching wood to the frame and then cutting it and nothing seemed to be working. I couldn't replicated that exact curve that we had before. So instead of spending the rest of my life trying to figure out how to create the curve, we decided to get rid of it. Our new trailer won't have a curved ceiling, instead it will be flat.
That's right - we changed the shape of the trailer! I'm sure anyone reading who is a vintage trailer enthusiast is screaming at their computer right now. I know this isn't technically considered a "restore" anymore, but I would like to finish this project before I die and at the rate I was going before, that wasn't going to happen.
I designed the trailer shape in Rhino (CAD software, similar to sketchup). I input the existing height and chassis measurements and then from there started experimenting with shapes that we liked. I looked at other trailers that had flat ceilings and worked off of those, as well. I picked a shape that I liked and found measurements for every three inches. I also took better measurements every inch at the top and the bottom where the curves were more extreme.


After getting all the measurements, we converted the decimals to fractions and got to work drawing out that shape onto a new piece of plywood. Once we had all the coordinates marked, we connected the dots and cut the shape out with a jigsaw.
After we had our new back piece in, it made everything so much easier. The previous back piece was installed at an angle (which we didn't make a note of before demoing the trailer). Our new piece rests flat on the subflooring and is much easier to connect to the rest of the framing. After that, the rest of the framing was a piece of cake. We used our pocket hole jig quite a bit. I love that thing so much! We also reinforced some parts of the frame, like around the doors and windows, with metal brackets.

After we finished our framing, we ordered all of the aluminum we needed for our siding. We ordered it from Hemet Valley RV who made the entire process really easy and straight forward. Our metal just arrived a few days ago and now we're ready to get started attaching the siding! So exciting!
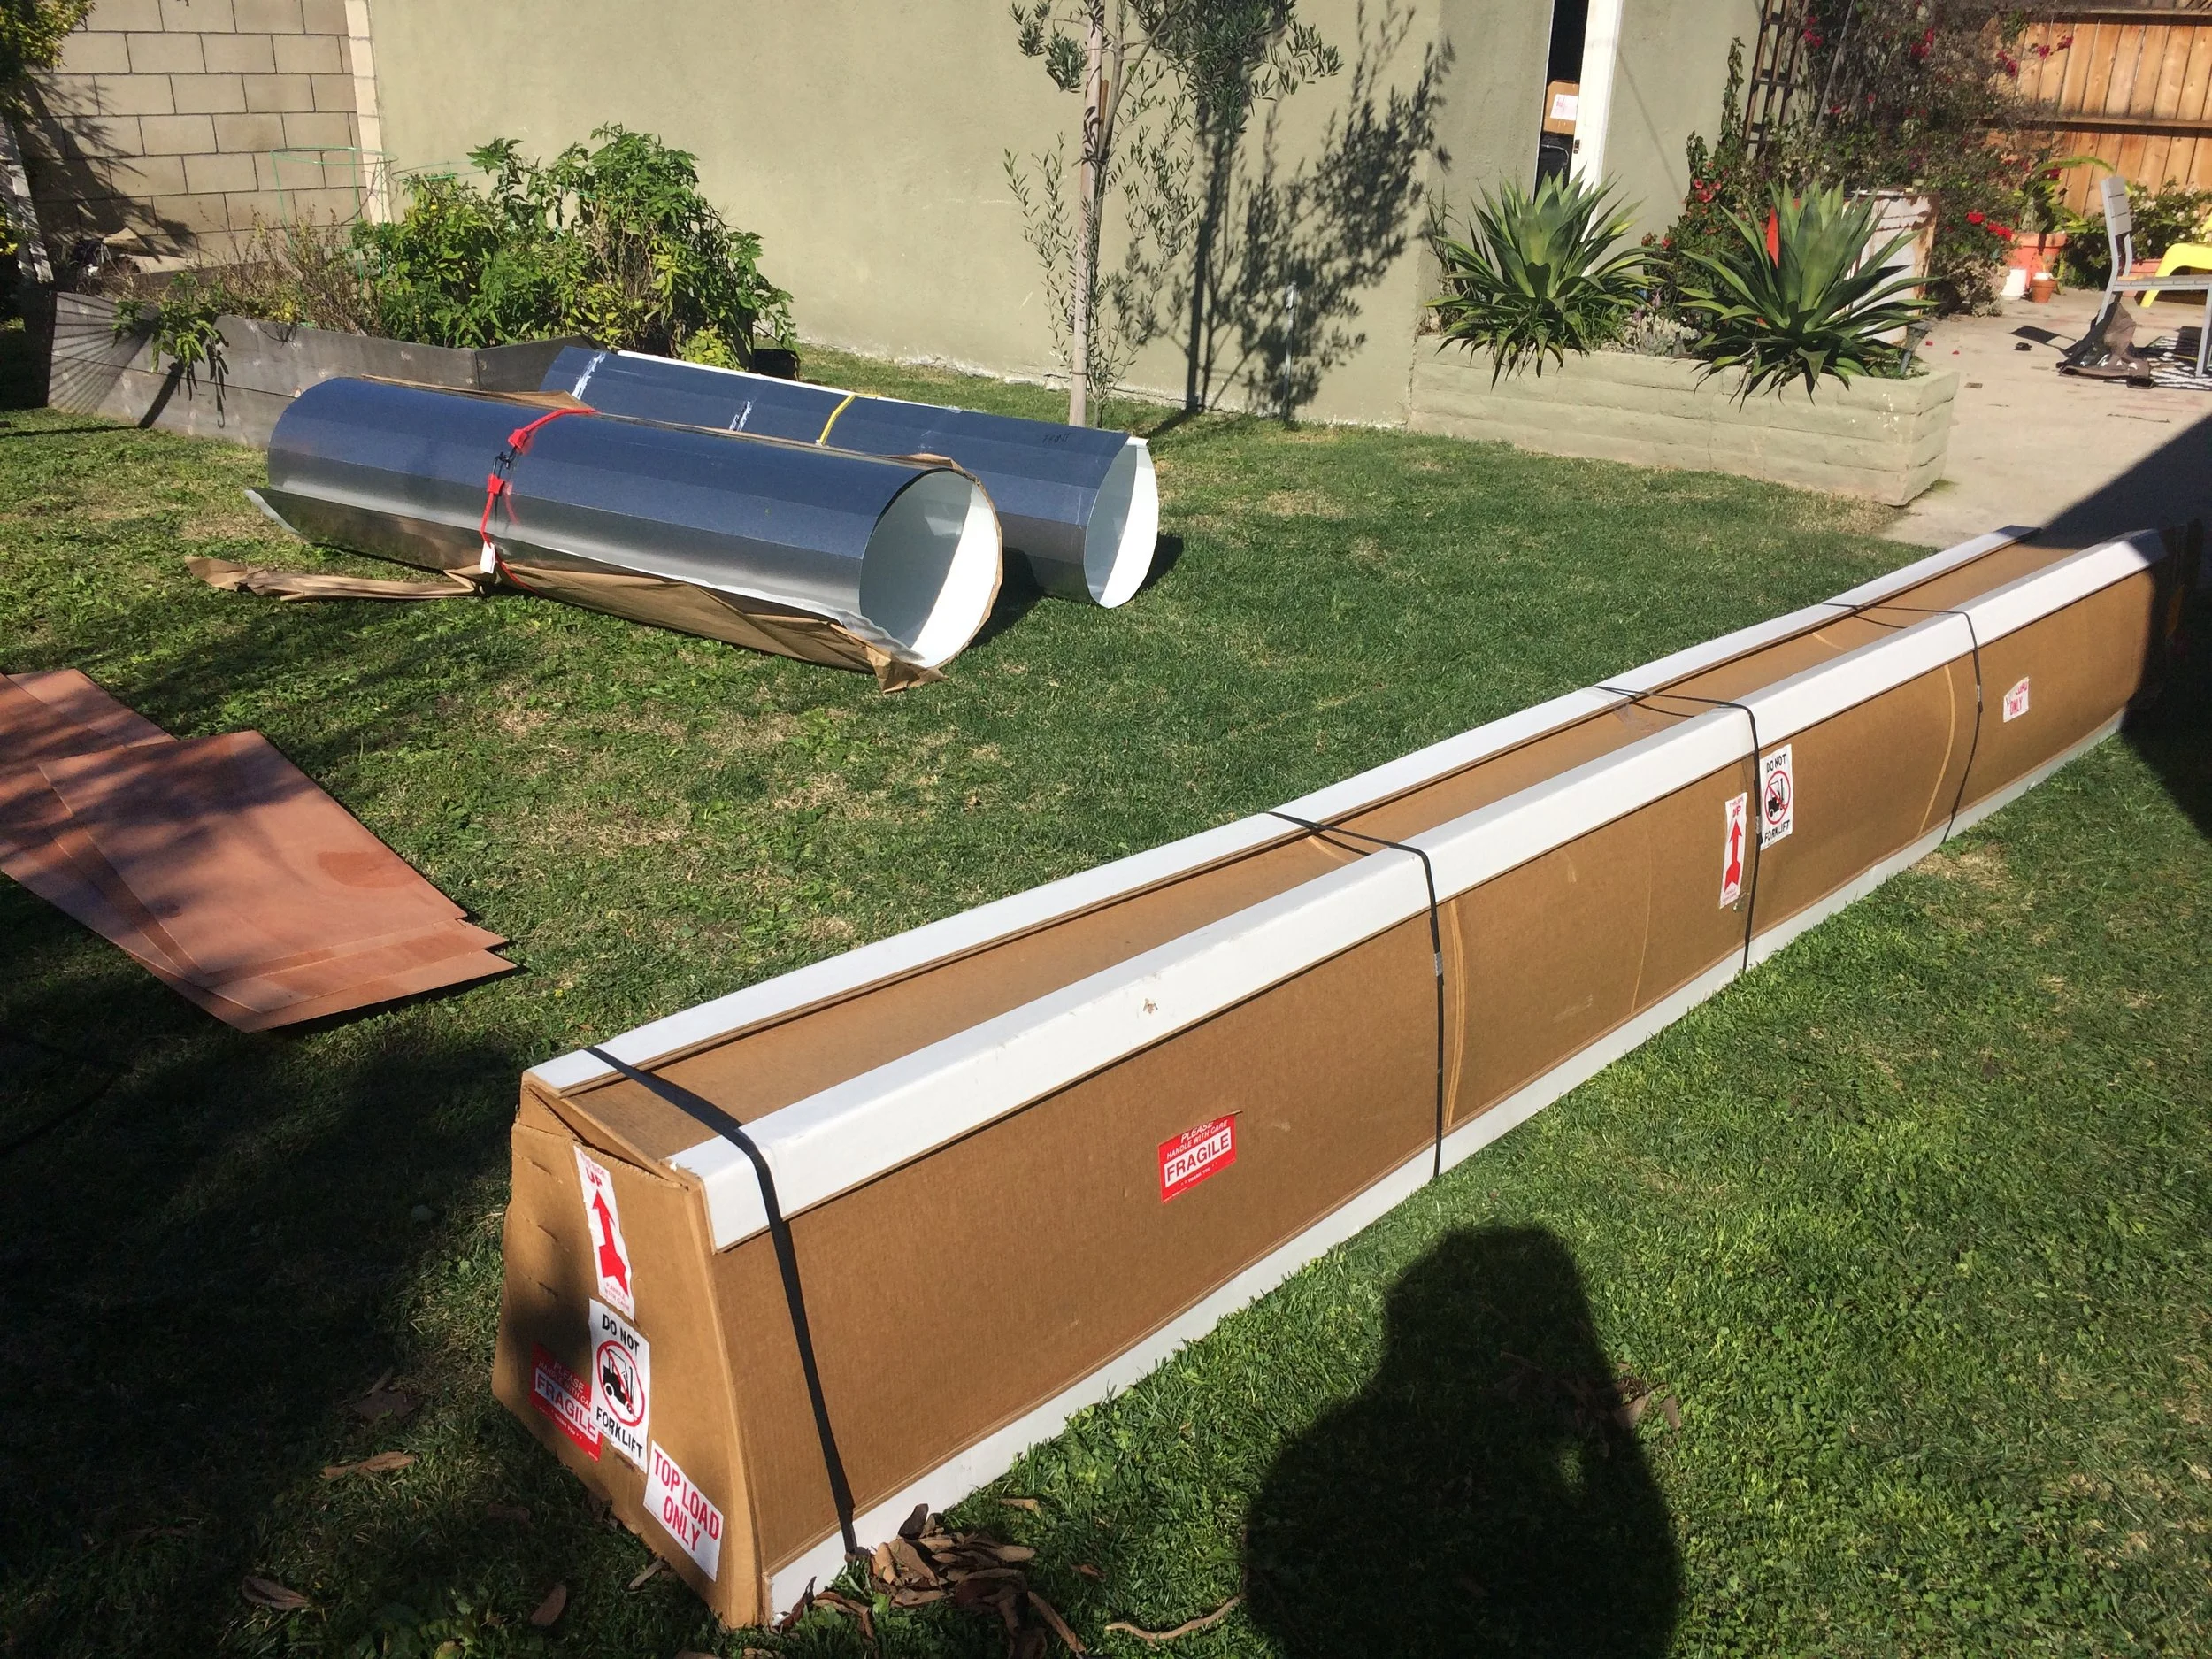
Unpacking our not so small boxes of aluminum siding. Over 250 lbs of metal!
Until next time, friends.
- Marla