So we finally started chipping away at the interior of the bean this week.
I’ve read a lot of conflicting information about where to begin demo. Some people peel off the skin first, others take apart the interior. There doesn’t seem to be any right or wrong way but the goal here is to figure how how much water damage is in the walls and flooring. We decided to start with the inside for a few reasons. It was expected rain this week and we didn’t want to take off the skin just for everything to get MORE water damage that it already had. Eventually, the skin will have to come off and it may or may not be raining then, so I set up a tented car port over the trailer so we can work in bad weather in the future.

Visible water damage in both upper corners
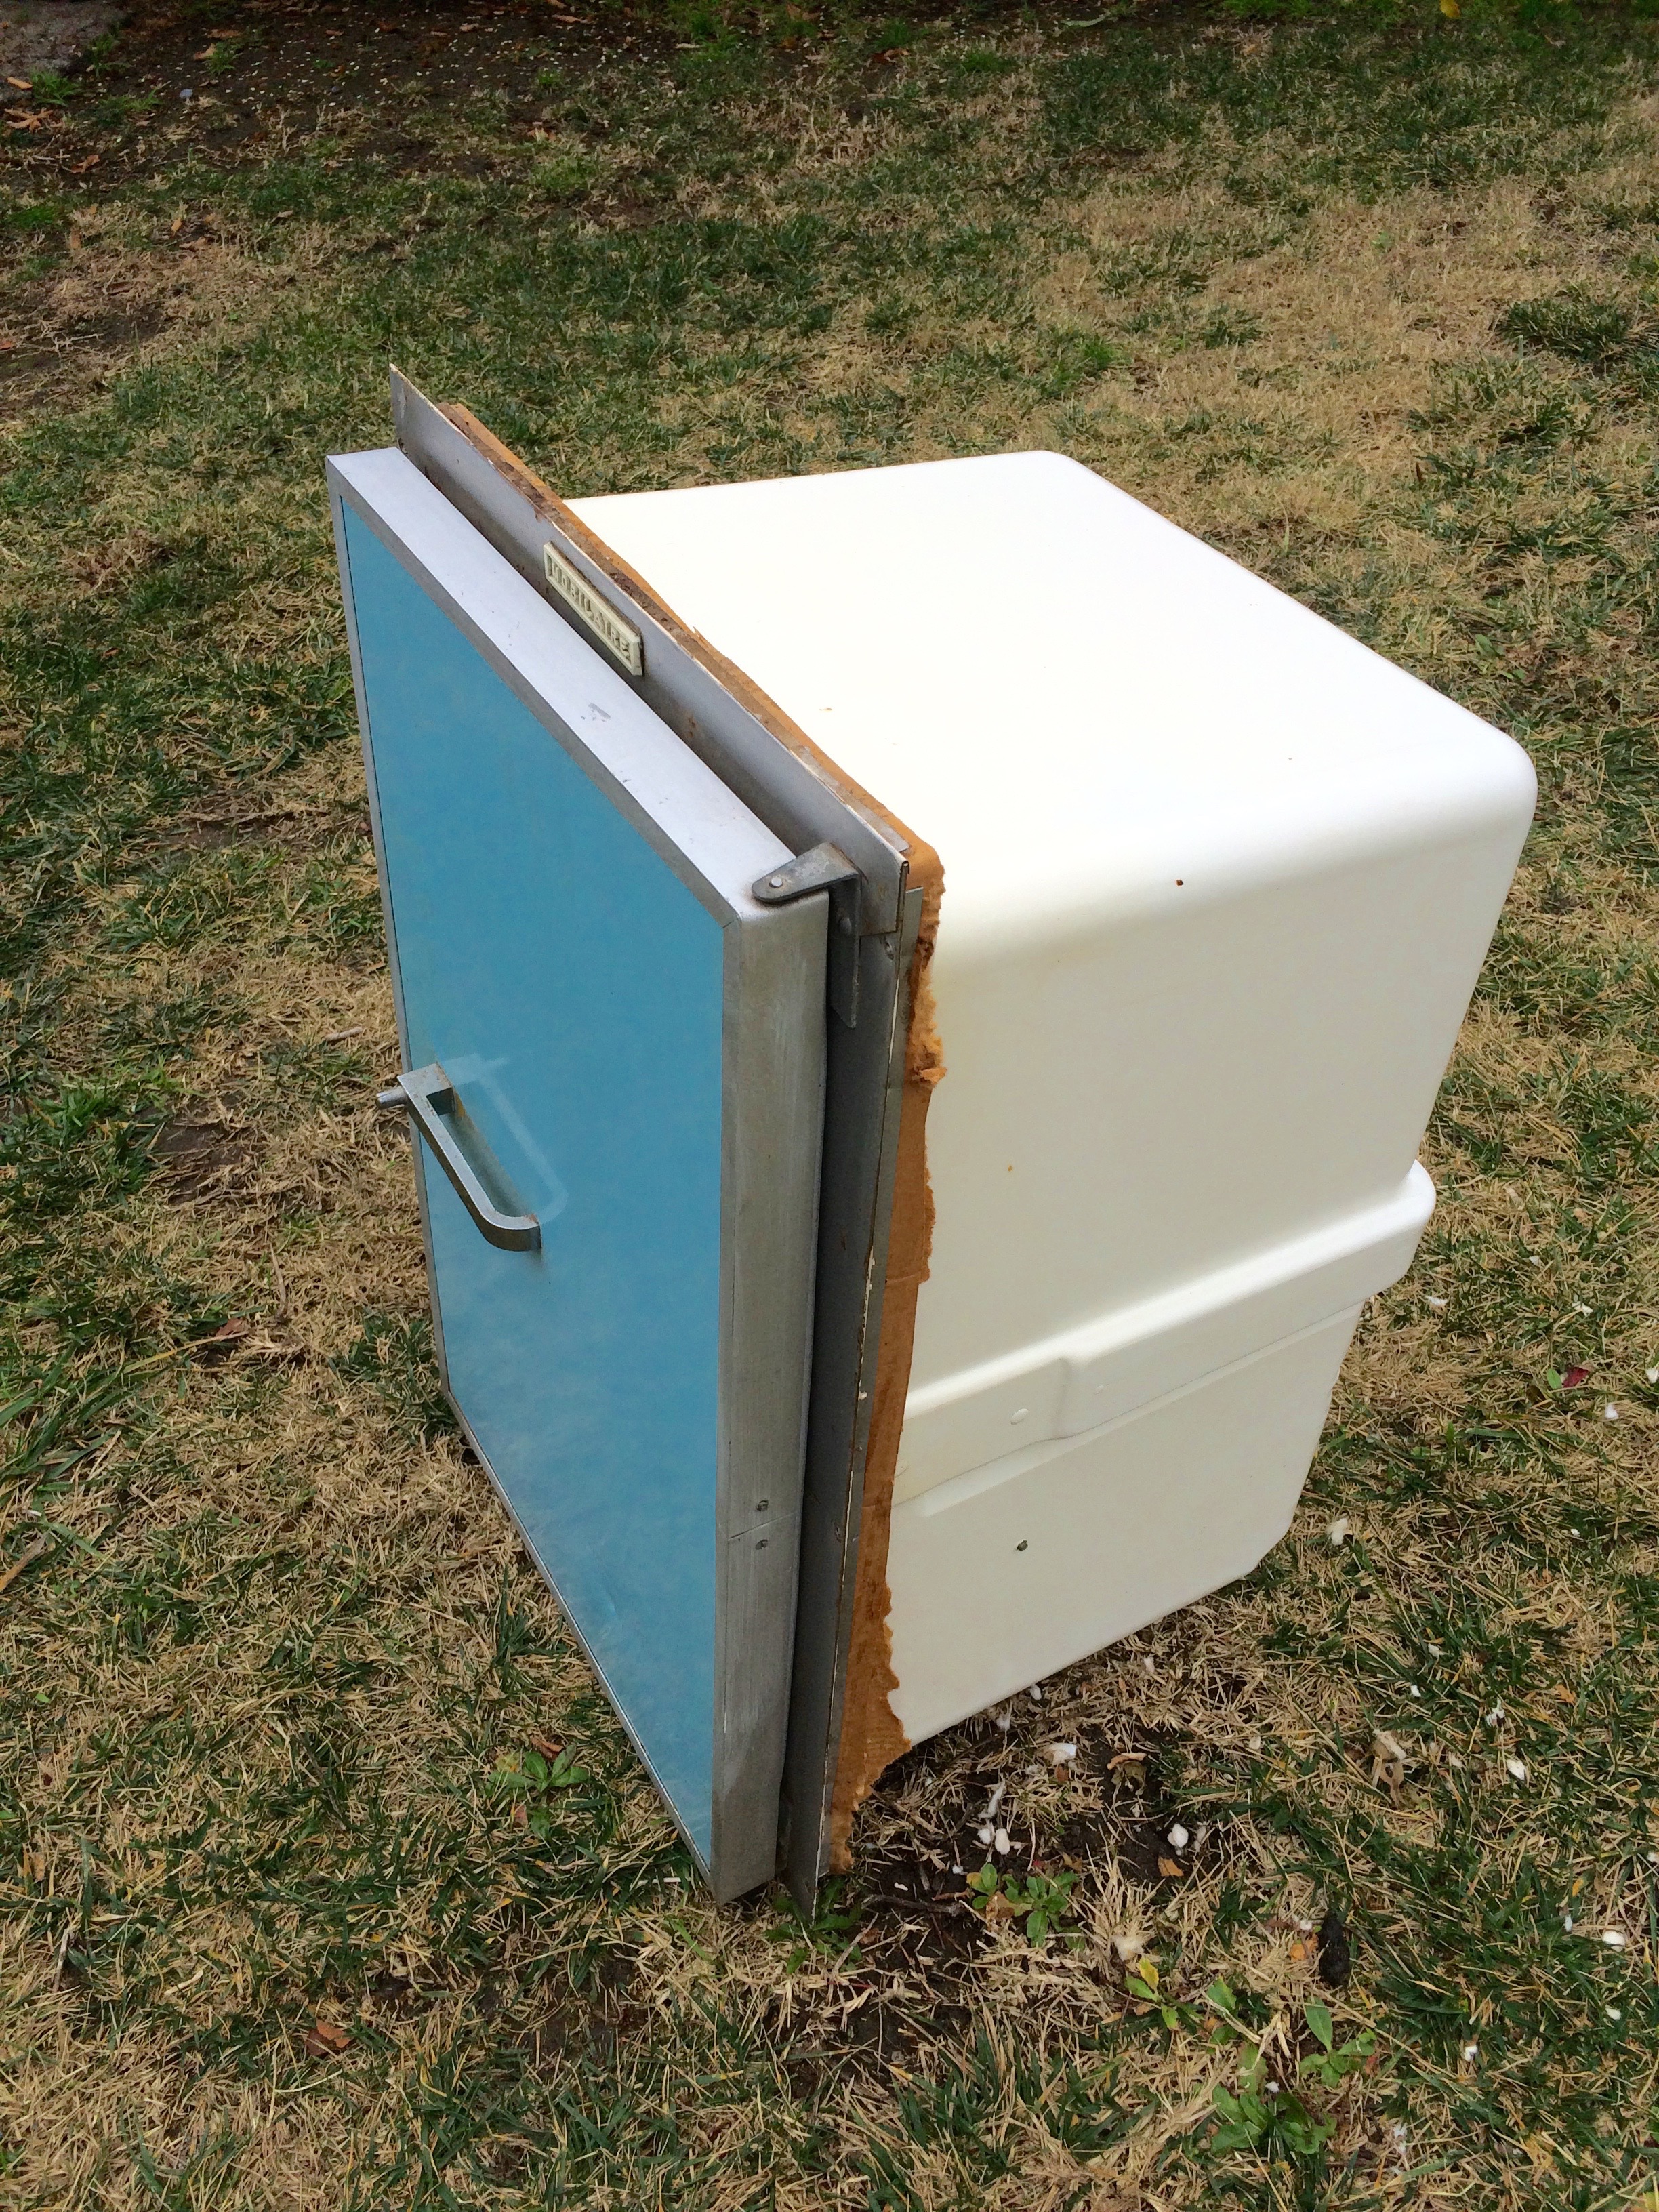
First things first we carefully took everything out of the trailer that we wanted to preserve. We saved the dining table, ice box, stove, sink (although not the faucet because it was broken), the gas powered light and the light over the dining table. We also took off all the hinges, knobs and drawer pulls. The dining table is in pretty bad shape, but we wanted to keep it so we can use it as a pattern to make a new one.

As much as I would have loved to keep the trailer as original as possible, the cabinets were in terrible shape. Many were also installed crooked and some cabinets were even put on backwards. We decided to rip out all the cabinets, seating, curtain rods and the formica on the kitchen counter. Basically, everything else. Let me tell you guys, DEMO IS SO MUCH FUN. You just get to tear shit up. All fun and games until…..
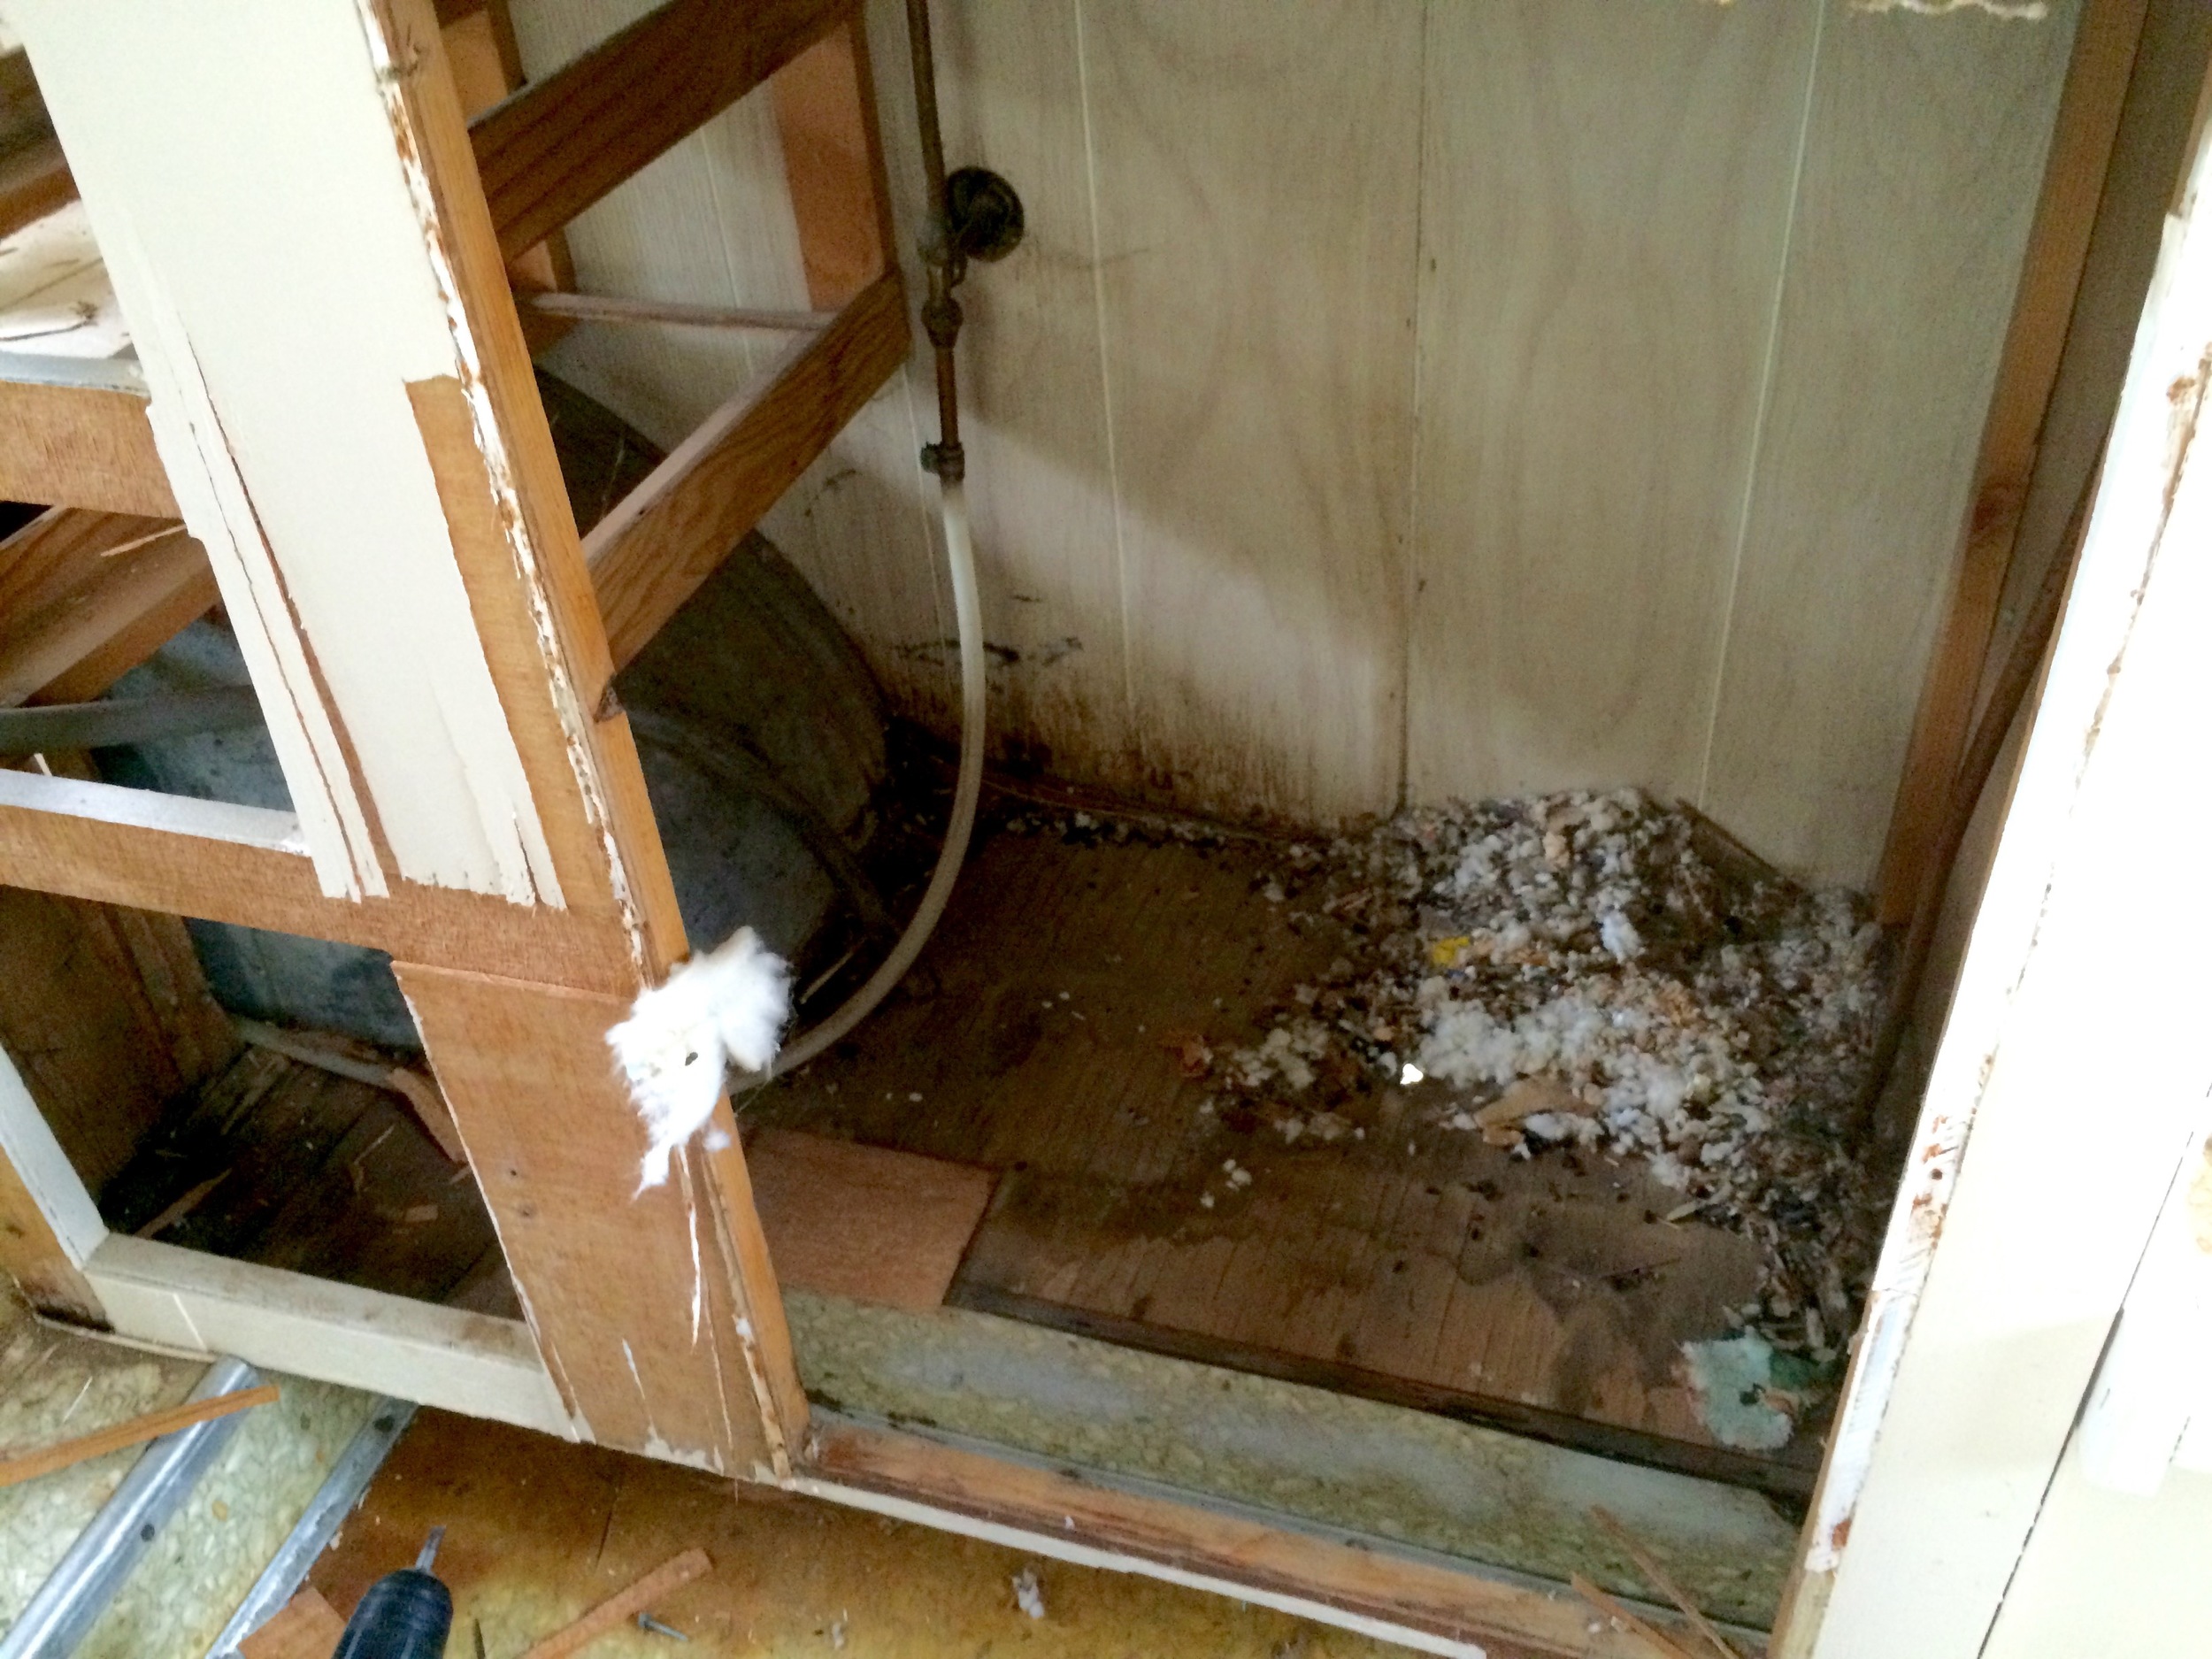
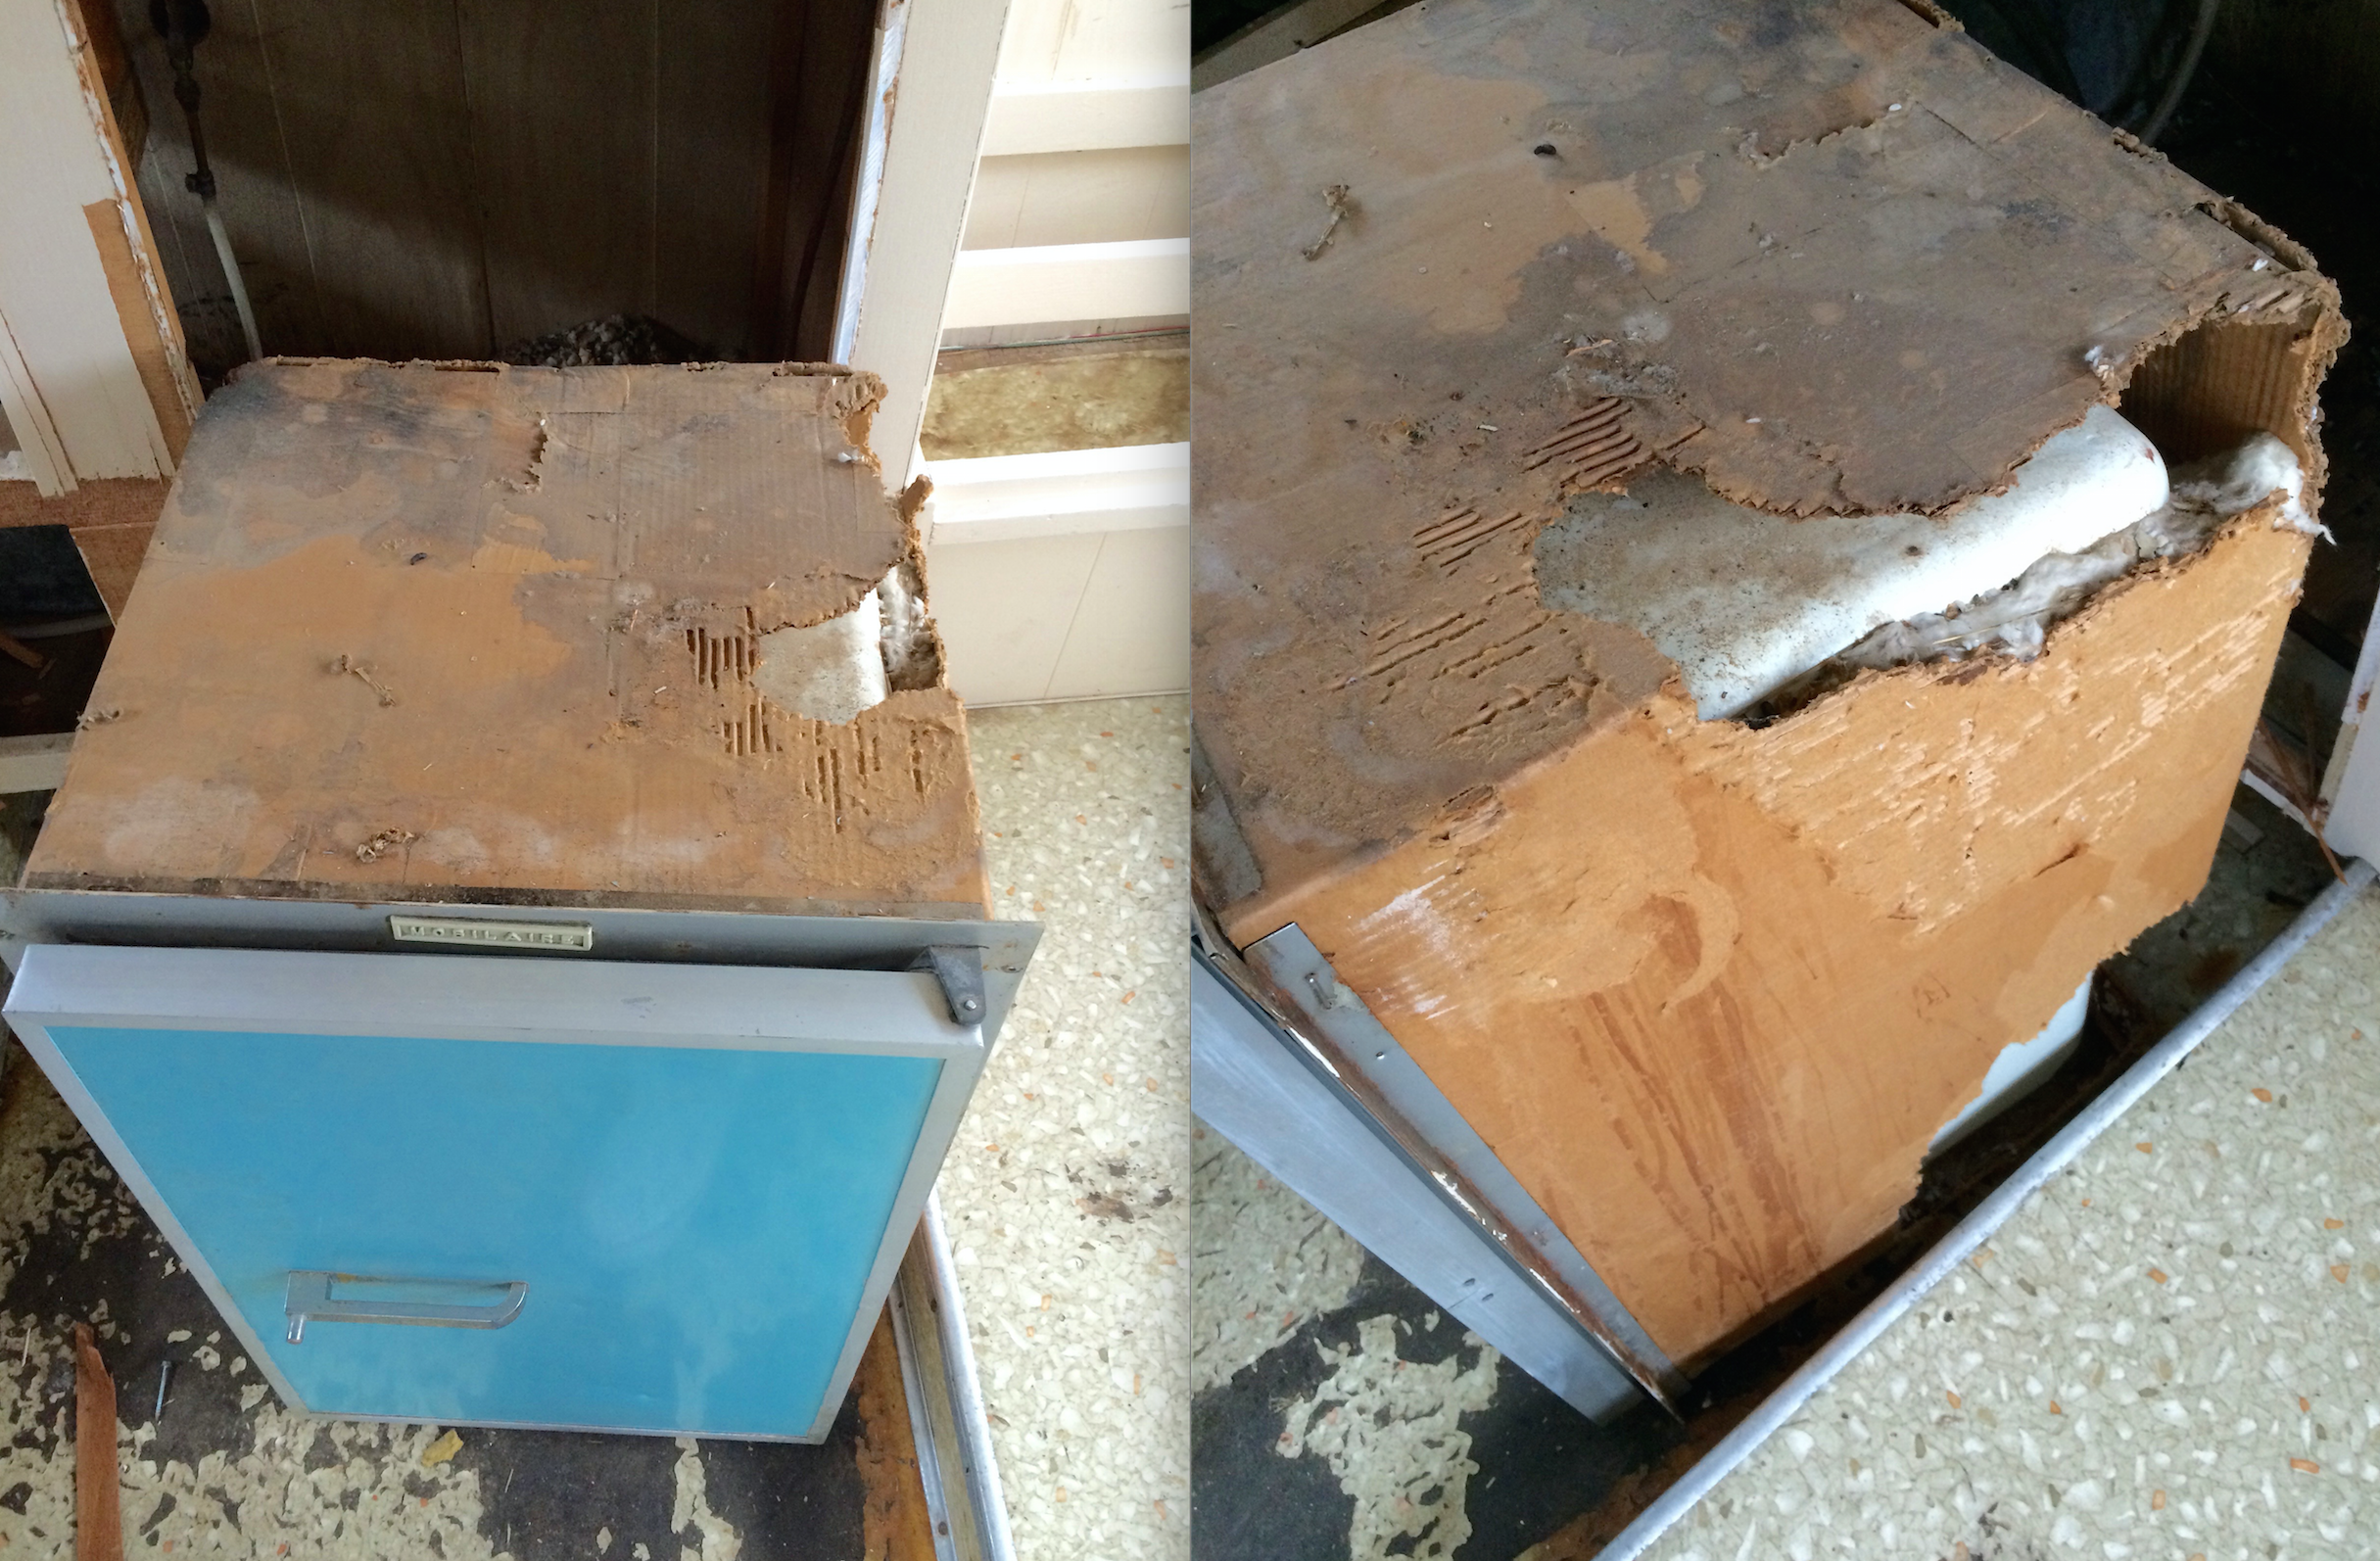
Yes. That is a rats nest constructed out of cardboard and insulation taken from the back of the icebox. That dark stuff on top of the fridge? Rat urine. Did I mention the piles of rat poop we also found? And the possible asbestos? That was fun to clean up. We didn’t actually know if there was asbestos in the trailer, but better safe than sorry, amiright? We broke out the ventilators (you need a special filter for asbestos - P100) and gloves.
After cleaning and removing remaining cardboard an insulation
Once we finished cleaning all that up, we started fiddling with the water and propane lines to understand how everything was set up. I was pleasantly surprised to find out that the water situation is actually the most simple thing ever. There is a hose input on the outside of the trailer which connects to the sink and water tank. When the faucet isn’t turned on, the water just goes right into the tank. After doing some research, I also think we need to set up a tank for grey water because (I think) it’s illegal to have grey water runoff. Should be simple enough, though.

Water line under sink
Now we just need to take off the rest of the cabinets and seating before we can see how much water damage there really is.
Until next time,
Marla